
How to make an ABS noSno bracket
For all you downhillers, wanting a brake. Here is Ben's guide for making a noSno alloy axle mount. From here you should be able to get a bike shop to fit some nice Magura rim brakes to these brackets.
Tools you will need:
7mm metal drill bit Countersink metal drill bit or 15mm or larger metal drill bit
M8 thread tap
Metal hacksaw
Milling machine or VERY steady hand and experience with an angle grinder
TIG welder or Co2/MIG welding machine, last resort standard arc welder
Bench drill allowing you to drill straight downwards. Sand paper/ bench grinder
Ok now down to the grit of it. Most people don’t have a milling machine and I do strongly advise on using one and not trying the angle grinder option (this was my 'plan B') some of the measurement are precise for a reason! Same problem with the welding equipment. So if you don’t have access to these then go to a professional.
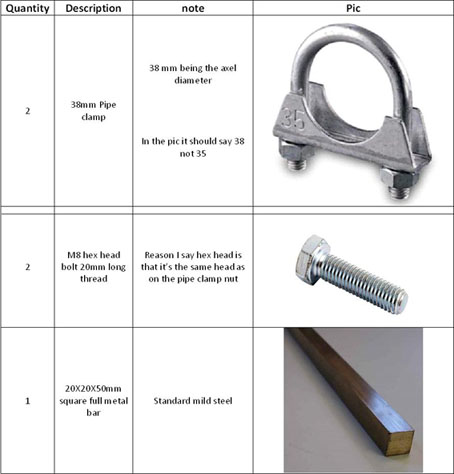
The Metal bar needs to be cut to these specs, as supplied to me by Nick from ABS:
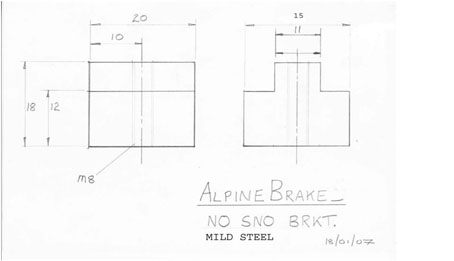
Specific importance in the measurements 11, 18, and 12. If you are giving this to a pro then tolerance of 0.4mm should suffice.

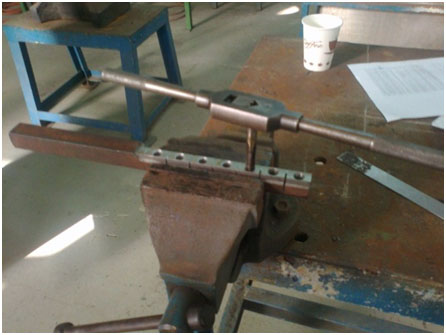
Once your raw piece of machined metal is shaped you need to mark out 20mm parts along it (allowing for blade thickness as do you) and then mark centre points along the 11X20mm long ridge. Next line up and clamp the bar ready for drilling with the bench drill and a 7mm drill bit, note this is NOT an 8mm! it must be smaller for the M8 tap. Once you’ve drilled your two holes and your happy they are centred use the M8 tap to thread the hole, make sure you take your time with this step and that you press down, stop and check you are perfectly perpendicular from all angles and that for every 2 full clockwise turns you make with the tap you make one quarter tern anti-clock wise. Once you’ve gone the entire way through take replace the 7mm bit with countersink and clean the edge of the hole on the ridge. Finally grab your m8 bolt and check it’s a good fit.
Now its time to saw along the marked line leaving two 20X15X18 M8 threaded block.
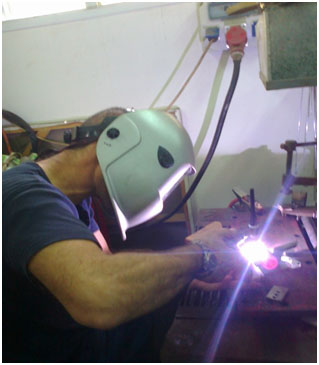
Back to the professional stuff again.First things first, clean/polish/grind the edge of the part of the bracket which will be welded to the block, this will allow for a better/ stronger weld. Rotate andalign the block piece so that the ridge is facing out and runs along where the curved clamp bolt will be. As for the type of welding; CO2 is probably the best option, easier, strongest and cheapest (assuming you're paying someone to do it) but TIG with added filler metal would be just as strong and probably look better. Electrode welding is ok but not really very suitable for this short relatively gentle weld but will work (I think).
Now, people riding in damp/ wet conditions I would highly recommended you spray a few layers of primer paint on to protect from rust.For this you want to prep the piece again, clean and polish, trying to remove any rust and grease from the surface before painting.
Make sure you use metal primer spray paint as regular paint will not protect it for as long against rust. 2 or 3 layers should be enough but the more the merrier
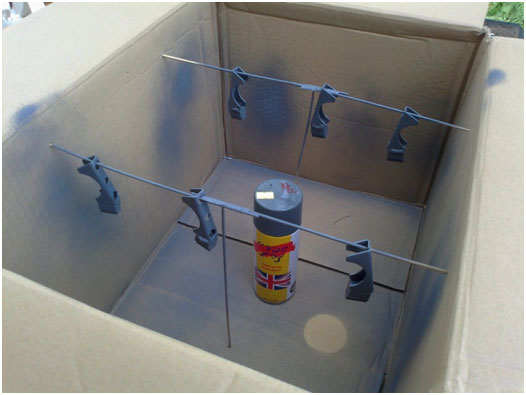
Here is my home made spray booth made from a cardboard box and long wooden skewers
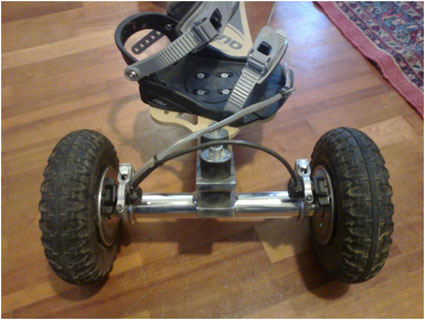
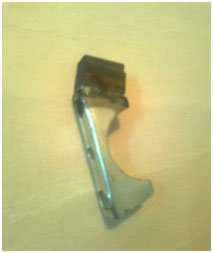
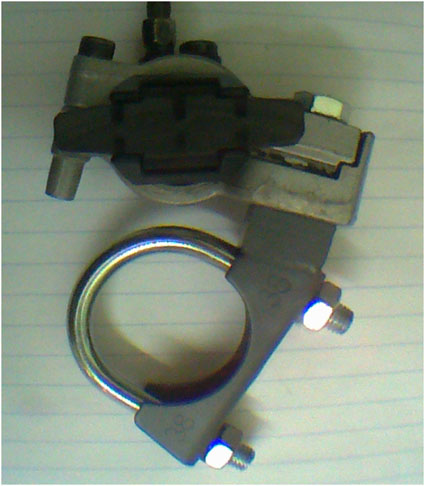
The final product:
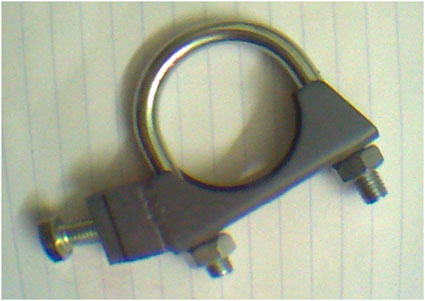
In this shot the bracket is attached to the brake, the ridge on the bracket fits into the brake and is bolted together with the 20mm M8 bolt. Note that you chould put this around the wrong way by twisting the bracket 180 degrees, you will notice this is wrong when you come to fit it and see that the pad is massivly out of line from the brake disk. I did this and had a small heart attack as I thought I welded the piece on the wrong way round or something.
Now all that’s left is to make good use of all your hard work! But be sure to make a few 'safe' test runs before taking this out on any serious runs, after all, do you really trust my advice or your shoddy work?
Get in contact with Ben at either
Smeeb2000 KentATB forum or – Ben on surfingdirt.com/forum